Ryanb000977 (talk | contribs) |
No edit summary Tag: 2017 source edit |
||
| (25 intermediate revisions by 7 users not shown) | |||
| Line 1: | Line 1: | ||
{{ | {{Infobox Buildinfo | ||
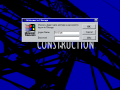
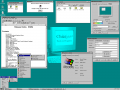
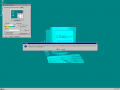
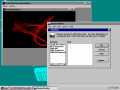
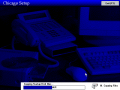
|image = | |image = Chicago Build 122 Setup 67.png | ||
|imagecaption = | |imagecaption = 4.00.122 | ||
|kernel = Windows 9x 4.00 | |kernel = Windows 9x (4.00) | ||
|arch= x86 | |arch = x86 | ||
|sku = N/A | |||
|sku = | |bios = 11th July 1994 | ||
|bios = 11th | |tcb = [http://www.thecollectionbook.info/builds/windows/build/7 Beta ID: 101907<BR>Password: 999b70c9e] | ||
}} | }} | ||
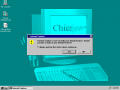
'''Windows 95 build 122''' is the earliest leaked Beta 1 build and also the last leaked build to call itself "Microsoft Chicago". Build 180, the next leaked build, is already branded as "Windows 95". It is available on the FTP, though a checked version of this build also exists. | |||
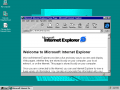
By this point, the new Explorer user interface was pretty much complete and mostly resembles the final product, later builds only added various cosmetic changes to it. The release notes are available at [[/RELNOTES.rtf/]]. | |||
By this point, the new Explorer user interface was pretty much complete and mostly resembles the final product, later builds only added various cosmetic changes to it. | |||
== Installation == | == Installation == | ||
''Installing from Windows 95 boot floppy:'' | |||
# Prepare disk with <code>fdisk</code>, reboot, then format (<code>format C:</code>). | |||
# Change path to the CD-ROM and go to the <code>RETAIL</code> directory. | |||
# Run <code>setup</code>. | |||
# Accept the default settings and then continue to the file copying process. You may also customize the features to be installed. | |||
# When complete, remove floppy and reboot. | |||
== Changes from [[Windows 95/4.00.99|build 99]] == | |||
=== Setup === | |||
# The "Windows Setup" text changed to "Chicago Setup". | |||
# New features can be installed. | |||
# Product ID box added. | |||
# New dialog after setup. | |||
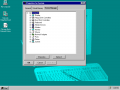
=== UI === | |||
# New default background. | |||
# Different Start menu. | |||
# Explorer is more organized. | |||
== Boot issues == | |||
This build can be rather difficult to install for many as it likes to hang at the bootscreen, so member KenOath also provided a pre-installed VHD of this build. | |||
== | == Build "177" == | ||
Build 122 is often mislabelled as build 177, probably after 117, another mislabel of 122, was mislabelled again. The copy of build 180 that Overdoze leaked to OSBA was also mislabelled as build 177. It was supposedly scene leaked back in the day and is even listed in several warez CD lists (e.g. Crack 2), but hasn't been found yet. | |||
== Gallery == | |||
<gallery> | |||
Chicago_Build_122_Setup_01.png|Licence agreement | |||
Chicago_Build_122_Setup_02.png|Ditto | |||
Chicago_Build_122_Setup_03.png|Ditto | |||
Chicago_Build_122_Setup_04.png|Ditto | |||
Chicago_Build_122_Setup_05.png|Installing Plus Pack components | |||
Chicago_Build_122_Setup_06.png|Not enought disk space error | |||
Chicago_Build_122_Setup_07.png|Analyzing system | |||
Chicago_Build_122_Setup_08.png|Welcome to setup | |||
Chicago_Build_122_Setup_09.png|Customize options | |||
Chicago_Build_122_Setup_10.png|Advanced options | |||
Chicago_Build_122_Setup_11.png|Warning | |||
Chicago_Build_122_Setup_12.png|Ditto | |||
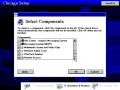
Chicago_Build_122_Setup_13.png|Select components | |||
Chicago_Build_122_Setup_14.png|Ditto | |||
Chicago_Build_122_Setup_15.png|Ditto | |||
Chicago_Build_122_Setup_16.png|Network | |||
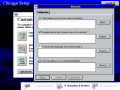
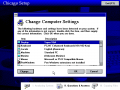
Chicago_Build_122_Setup_17.png|Change computer settings | |||
Chicago_Build_122_Setup_18.png|Display adapter settings | |||
Chicago_Build_122_Setup_19.png|Ditto | |||
Chicago_Build_122_Setup_20.png|Ditto | |||
Chicago_Build_122_Setup_21.png|User information | |||
Chicago_Build_122_Setup_22.png|Startup disk creation | |||
Chicago_Build_122_Setup_23.png|Disk prompt | |||
Chicago_Build_122_Setup_24.png|Copying startup disk files | |||
Chicago_Build_122_Setup_25.png|Copying files | |||
Chicago_Build_122_Setup_26.png|End setup | |||
Chicago_Build_122_Setup_27.png|Boot screen | |||
Chicago_Build_122_Setup_28.png| | |||
Chicago_Build_122_Setup_29.png| | |||
Chicago_Build_122_Setup_30.png| | |||
Chicago_Build_122_Setup_31.png| | |||
Chicago_Build_122_Setup_32.png| | |||
Chicago_Build_122_Setup_33.png| | |||
Chicago_Build_122_Setup_34.png| | |||
Chicago_Build_122_Setup_35.png| | |||
Chicago_Build_122_Setup_36.png| | |||
Chicago_Build_122_Setup_37.png| | |||
Chicago_Build_122_Setup_38.png| | |||
Chicago_Build_122_Setup_39.png| | |||
Chicago_Build_122_Setup_40.png| | |||
Chicago_Build_122_Setup_41.png| | |||
Chicago_Build_122_Setup_42.png| | |||
Chicago_Build_122_Setup_43.png| | |||
Chicago_Build_122_Setup_44.png| | |||
Chicago_Build_122_Setup_45.png| | |||
Chicago_Build_122_Setup_46.png| | |||
Chicago_Build_122_Setup_47.png| | |||
Chicago_Build_122_Setup_48.png| | |||
Chicago_Build_122_Setup_49.png| | |||
Chicago_Build_122_Setup_50.png| | |||
Chicago_Build_122_Setup_51.png| | |||
Chicago_Build_122_Setup_52.png| | |||
Chicago_Build_122_Setup_53.png| | |||
Chicago_Build_122_Setup_54.png| | |||
Chicago_Build_122_Setup_55.png| | |||
Chicago_Build_122_Setup_56.png| | |||
Chicago_Build_122_Setup_57.png| | |||
Chicago_Build_122_Setup_58.png| | |||
Chicago_Build_122_Setup_59.png| | |||
Chicago_Build_122_Setup_60.png| | |||
Chicago_Build_122_Setup_61.png| | |||
Chicago_Build_122_Setup_62.png| | |||
Chicago_Build_122_Setup_63.png| | |||
Chicago_Build_122_Setup_64.png| | |||
Chicago_Build_122_Setup_65.png| | |||
Chicago_Build_122_Setup_66.png| | |||
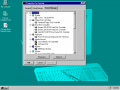
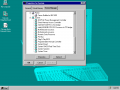
Chicago_Build_122_Setup_67.png| | |||
Chicago_Build_122_Setup_68.png| | |||
Chicago_Build_122_Setup_69.png| | |||
Chicago_Build_122_Setup_70.png| | |||
Chicago_Build_122_Setup_71.png| | |||
Chicago_Build_122_Setup_72.png| | |||
Chicago_Build_122_Setup_73.png| | |||
Chicago_Build_122_Setup_74.png| | |||
Chicago_Build_122_Setup_75.png| | |||
Chicago_Build_122_Setup_76.png| | |||
Chicago_Build_122_Setup_77.png| | |||
Chicago_Build_122_Setup_78.png| | |||
Chicago_Build_122_Setup_79.png| | |||
Chicago_Build_122_Setup_80.png| | |||
Chicago_Build_122_Setup_81.png| | |||
Chicago_Build_122_Setup_82.png| | |||
Chicago_Build_122_Setup_83.png| | |||
Chicago_Build_122_Setup_84.png| | |||
Chicago_Build_122_Setup_85.png| | |||
Chicago_Build_122_Setup_86.png| | |||
</gallery> | |||
Latest revision as of 14:34, 7 November 2023
 |
|
| 4.00.122 | |
| Kernel version | Windows 9x (4.00) |
|---|---|
| CPU architecture | x86 |
| Edition | N/A |
| BIOS date | 11th July 1994 |
| TCB | Beta ID: 101907 Password: 999b70c9e |
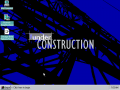
Windows 95 build 122 is the earliest leaked Beta 1 build and also the last leaked build to call itself "Microsoft Chicago". Build 180, the next leaked build, is already branded as "Windows 95". It is available on the FTP, though a checked version of this build also exists.
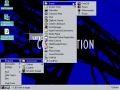
By this point, the new Explorer user interface was pretty much complete and mostly resembles the final product, later builds only added various cosmetic changes to it. The release notes are available at RELNOTES.rtf.
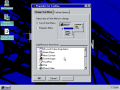
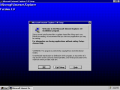
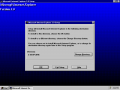
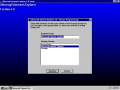
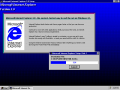
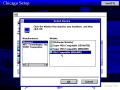
Installation
Installing from Windows 95 boot floppy:
- Prepare disk with
fdisk, reboot, then format (format C:). - Change path to the CD-ROM and go to the
RETAILdirectory. - Run
setup. - Accept the default settings and then continue to the file copying process. You may also customize the features to be installed.
- When complete, remove floppy and reboot.
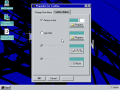
Changes from build 99
Setup
- The "Windows Setup" text changed to "Chicago Setup".
- New features can be installed.
- Product ID box added.
- New dialog after setup.
UI
- New default background.
- Different Start menu.
- Explorer is more organized.
Boot issues
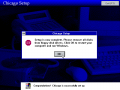
This build can be rather difficult to install for many as it likes to hang at the bootscreen, so member KenOath also provided a pre-installed VHD of this build.
Build "177"
Build 122 is often mislabelled as build 177, probably after 117, another mislabel of 122, was mislabelled again. The copy of build 180 that Overdoze leaked to OSBA was also mislabelled as build 177. It was supposedly scene leaked back in the day and is even listed in several warez CD lists (e.g. Crack 2), but hasn't been found yet.
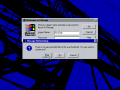
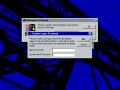
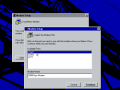
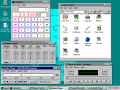
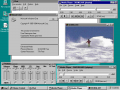
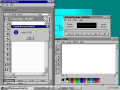
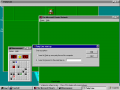
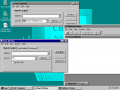
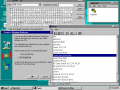
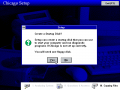
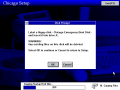
Gallery
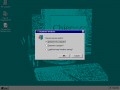
Licence agreement
Ditto
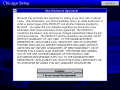
Ditto
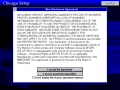
Ditto
Installing Plus Pack components
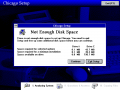
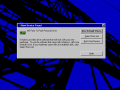
Not enought disk space error
Analyzing system
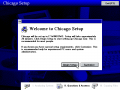
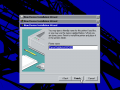
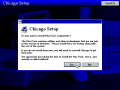
Welcome to setup

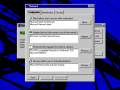
Customize options
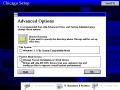
Advanced options

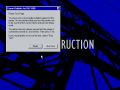
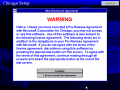
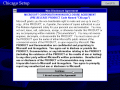
Warning

Ditto
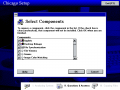
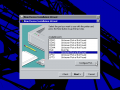
Select components
Ditto

Ditto
Network

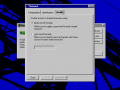
Change computer settings
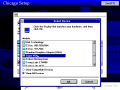
Display adapter settings
Ditto
Ditto
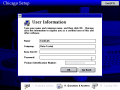
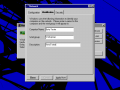
User information
Startup disk creation
Disk prompt
Copying startup disk files

Copying files
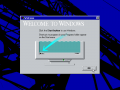
End setup

Boot screen