The community for beta and abandonware collectors.
BetaArchive Database
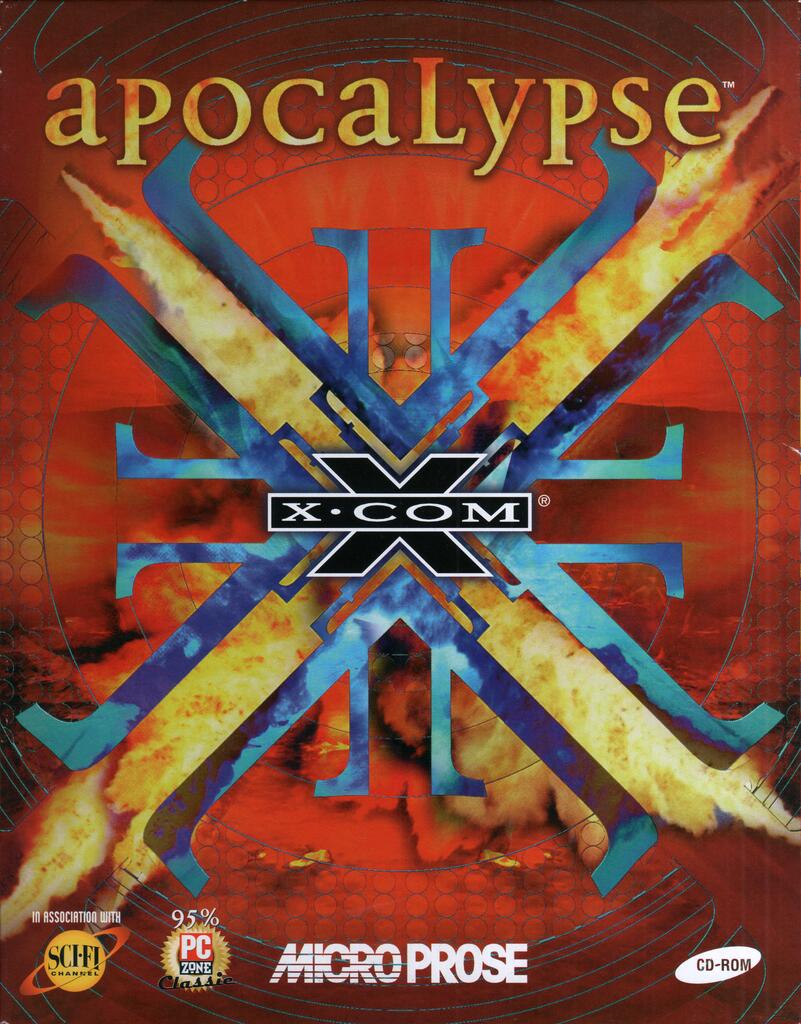
X-COM Apocalypse (1.00) (1997-06-11) [English-EU] (CD) [MP191]
| Appears in | Abandonware / Games / PC (Windows) / |
| Release Date | 2023/01/01 |
| Last Modified | 2023/01/01 |
| Uploader | Bard |
| Size | 1.36 GB |
| Original Release? | Yes |
| Media Type | mdf/mds |
| Artwork | artwork |
| Documentation | |
| Source Media | CD-ROM |
Comments
X-COM Apocalypse
Version 1.00

Release Date: 11.06.1997
CD Serial: MP191 297 D01R

Supported language: English


1. Info
2. Installation Guide
3. How to start the game
4. Audio Channel swap
5. Please Insert CD Bug
6. Optional info


Info:

Game can be run using any DOSBox iteration, recommended is the latest 0.74-x version.

X-COM Apocalypse has some trouble when installed in DOSBox.
The game does various CPU-ID checks during the install and when the game is started and uses different files depending on the CPU-ID.
It is preferred to play with the TACP.EXE and UFO2P.EXE files, which are the Pentium executables, those offer better performance. However, due to the CPU ID checks, the 486-executables can get renamed and installed in their place and in some instances it can happen that those files get mix-matched, causing heavy bugs/errors mid to late game.

This happens mainly because the default CPU-ID for DOSBox on "cputype=auto" is reported as "386", while the "cputype=pentium_slow" setting makes the game almost unplayable due to it's way slower performance.


Please follow this guide closely for a bug free and issue free install.

This guide is based on the following:

1. Your CD/DVD drive letter is labelled "D:" in Windows.
2. Your DOSBox directory is "C:\Games\DOSBox\".
3. Your DOSBox "C:" directory is "C:\Games\DOSBox\Games\"

Adjust the directories as well as the drive letters accordingly, if you have installed DOSBox in a different directory or your CD/DVD drive has a different letter assigned to it.

---


Installation Guide:

1. After installing the latest DOSBox0.74-x, enter the DOSBox folder and manually create a folder called "Games", this will serve as your DOSBox's "C:" drive.

2. Start "DOSBox 0.74-3 Options.bat" inside the DOSBox folder and use these settings:
(leave the other variables in their default state, only change the ones listed below)


[sdl]
windowresolution=1280x960
output=openglnb
priority=highest,highest

#fullscreen resolution for 1920x1080 monitors is: 1920x960
#this will center the game with black bars around it for a pixel perfect output

#fullscreen resolution for 2560x1440 monitors is: 1920x1440

#windowed resolution for 3840x2160 monitors is: 1920x1440
#fullscreen resolution for 3840x2160 monitors is: 3840x1920


[dosbox]
machine=vesa_nolfb
memsize=63


[render]
aspect=true


[cpu]
core=dynamic
cputype=auto
cycles=60000
cycleup=10000
cycledown=10000

#When played in fullscreen mode cycles can be increased up to 120000 or 140000.
#When sound popping occurs, reduce cycles by 10000 until it's gone.
#Use CTRL+F11 to decrease cycles and CTRL+F12 to increase cycles while ingame.

#Additionally, reduce your mouses polling-rate to 125Hz to help reduce the sound popping, if you happen to own a more modern mouse that uses higher polling-rates up to 1000Hz.
#When constantly moving the mouse in circles sound popping can/will occur, so don't do that.


[mixer]
nosound=false
rate=49716
blocksize=8192
prebuffer=8192

#The high blocksize and prebuffer values will make the sound slightly delayed but will also prevent sound popping.
#If you are bothered by this too much, reduce the values. (1024 or 2048 or 4096)
#However, sound popping will occur if the value is too low.


[sblaster]
sbtype=sb16
sbmixer=true
oplmode=opl3
oplemu=compat
oplrate=49716


[autoexec]

mount c c:\Games\DOSBox\Games\

mount d d:\ -t cdrom -usecd 0 -ioctl

#The number after "-usecd" can be determined by typing "mount -cd" into DOSBox, it will list all optical drives with their numbers.
#Adjust this number accordingly, i.e. "-usecd 1" / "-usecd 2"
#This step is important to reduce the chance of the "Please Insert CD"-bug occuring, which occasionally happens even if you use the original physical CD.

#If your CD/DVD drive or mounted image is assigned a different letter than "D" by Windows, change the "d:\" to the respective letter.
#I.e.: "mount d h:\ -t cdrom -usecd 1 -ioctl"


---


3. After changing the values, save the file and exit it.

4. Now start DOSBox and enter following commands followed by the Enter-Key:

d: (enter)

install (enter)

5. Click on the left button saying "I Accept".

6. Click on the middle button saying "Install game" then click on the bottom right button saying "OK".

7. Click on the middle button saying "Install optimal version (200 MB required)" then click on the bottom right button saying "OK".

8. On the next screen the CD-ROM Speed Check can take up to 5 minutes, on a mounted image file this usually only takes a few seconds.

9. On the system information screen again click on "OK".

10. On the next screen, choose "C:" as install directory and again click on "OK".

11. Name the game folder as you want, for the sake of this guide and reducing any errors leave it at "XCOMA" and simply click "OK".

12. On the next screen click the final button on the lower right saying "Install" to start the install process.

13. The installation can take a while when using a physical CD, sometimes up to 5-10 minutes. Especially at the start it will seem to have frozen, but that's just the downside of the physical CD. On a mounted image file it usually takes less than a minute.

14. Once the install is done click on "OK" again.

15. On the next screen do not use any options, we will set the sound card later. Click on "Exit and save configuration" and then click on "OK".

16. Now type "exit" and press enter to close DOSBox.

17. Now to fix any installation anomalies due to the CPU-ID checks. Access the "X-COM Apocalypse"-CD and open the "XCOM3"-folder.

18. Copy all of the contents of the "XCOM3"-folder and paste them into the "c:\Games\DOSBox\Games\XCOMA\"-folder. Overwrite all files when promted.

19. Enter the "c:\Games\DOSBox\Games\XCOMA\"-folder so that you can see the "TACEXE" and "UFOEXE"-folders

20. Now enter the "TACEXE"-folder and manually delete the "TACP4.exe"-file.

21. Return to the "c:\Games\DOSBox\Games\XCOMA\"-folder and now enter the "UFOEXE"-folder and manually delete the "UFO2P4.exe"-file.

22. Now start DOSBox again.

23. Type the following commands followed by the Enter-Key:

c: (enter)

cd xcoma (enter)

setup (enter)

24. Click on the middle button saying "Set up sound card" and then click on the "OK" button at the bottom right.

25. Choose "SoundBlaster 16/AWE32" as sound card and then click on "OK" at the bottom right and then again at the small middle window that pops-up after.

26. Click on "Exit and save configuration" and then click on "OK".

---


This completes the installation of X-COM Apocalypse.


---


How to start the game:


To start the game enter the "XCOMA"-folder in DOSBox using these commands, followed by the "Enter"-Key, when you are at the "Z:\>"-promt:

c: (enter)

cd xcoma (enter)

Now type "xcomapoc" followed by a press of the "Enter"-Key and the game will start with the intro cinematic playing.


The game requires the CD to run proper, if started without the CD no music will play and it might bug out here and there.
Make sure you always mount the CD in DOSBox before playing the game.
For a fluent experience use the image file mounted in Windows rather than a burned CD.
The physical CD access times are rather slow on DOSBox, causing the game to shortly freeze whenever a new music track is played.
On a mounted image file the access is instant.

Do not directly mount the image file into DOSBox, this will cause issues as the image mounting method used by DOSBox is not ideal.

Mount the image file in Windows so it displays as a CD in the Windows Explorer, then mount the drive letter into DOSBox.

A free program to mount the "XCOM APOC.mds" image file would be "DAEMON Tools Lite".


Audio Channel swap:


For some reason, almost everytime you start the game for the first time, the audio-channels will be reversed.
In order to fix this, when you start a new game, click on the "?"-Button at the lower left on the Cityscape-Screen.
There you will find the audio setting buttons:

"Test Left" -> plays a demo sound on the left speaker.
"Test Right" -> plays a demo sound on the right speaker.
"Swap" -> swaps the audio channels.

If you click on the "Test Left"-button but it plays on the right speaker, simply click on the "Swap"-button to fix this.
This change will only be persistent (including new games) if afterwards you save your game.


Please Insert CD Bug:


Due to the "Please Insert CD"-Bug, make sure to save fairly often to not lose 2-4 hours of progress.
It can occur everytime you enter or exit the Tactical Screen (Battlescape) and there is no fixing it.
It will occur with the original physical CD of the game as well as any image file or burned CD.
When the "OK"-button is clicked, nothing will happen. The game is hard locked and will require a restart of DOSBox.

---

Enjoy playing the original release version of X-COM Apocalypse.


(For the best experience with the Learning AI of the game, always play using the Real Time mode.)

---


Optional info:

1. The games video sequences are stored inside the "SMK"-folder.
These videos are not version dependant.
This means you can copy and overwrite the "SMK"-folder and its files with any other language version you have of X-COM Apocalypse.
I.e. You have the original UK release but want the German video files, simply copy, paste and overwrite the "SMK"-folder from the German installation into the UK installation.
Now the German videos will play while the game remains in English and vice versa.


2. The games "Learning AI" unfortunately easily breaks, which defaults it to a standard and rather "dumb" AI.
If played in a single sitting, changes in behaviour can be observed as early as the middle of week 2 / start of week 3.
The "Learning AI" is less effective in "Turn Based" mode, for the best experience always play in "Real Time" mode.

Stun Raiding non-hostile organisations or ending a Tactical Mission (Battlescape) without receiving or dealing damage (including: escaping the map) will also break it, as it will scramble the data inside the "WEAPEXP.DAT" AI-file.

Starting a new game will always reset the "Learning AI", meaning it has to learn from the start again.

The "Learning AI" can be fully unlocked with the fan made programme called "A-Patcher v1.5".
This will prevent the AI from learning but instead it will use the fully unlocked AI tactics which were trained over the course of 8000 games during developement of the game.

When using A-Patcher, use the following promts in order to fully unlock the AI:

Designer Mode -> N
Stun Raiding -> Y
Guards present -> Y
Increase Agents -> N
Ground Force Limits -> Y
Building Guards -> 20
Base Raiders -> 20

Raider Type -> Y

Police presence -> Y
Police Cars -> 3
Hocervars -> 3
Max Police/Hover -> 5


Illegal Flyer -> Y
Number vehicles -> 2

Dimension Gates -> N
UFO Mission -> N
Drops -> N
ForcWeb Destabiliser -> Y
Turrets-> N
Hotseat -> N
Training Mode -> N


New behaviours such as throwing ammunition to eachother or ambushes / waiting for you to enter the UFOs can now be observed.
If Training Mode is active, the AI will always be fully unlocked, however the game will autoplay Tactical Missions.


3. The Mega-Primus map will differ depending on the difficulty setting you choose.
The Aliens and Organisation stats as well as many other variables are tied to the difficulty setting.
This means on the easiest setting an Alien will always have lower stats, while on Superhuman it will have the highest possible stats.

If however you do not want to play an easier or harder difficulty but would like to play on their respective city map, enter the "UFODATA"-folder inside the "XCOMA"-folder.

Sort the files by name and find the "CITYMAPx" and "CITYMAPx.BLD" files.
CITYMAP1
CITYMAP1.BLD
Are the the files used for the easiest difficulty setting.
CITYMAP5
CITYMAP5.BLD
Are the files for the hardest difficulty setting.

You can now, for example, rename "CITYMAP1" and "CITYMAP1.BLD" to "CITYMAP5" and "CITYMAP5.BLD", to play the easiest difficulty map on the hardest difficulty setting.

Or vice versa, this can allow you to play on the hardest difficulty map on the easiest difficulty setting.

Funnily enough, the smaller city maps can be harder to defend.
Gallery
Box Covers


Media

Files
Related Releases
No related releases were found.Loaded in 0.4724 seconds - Version 1.0.2 Beta | Sitemap