And here is the method:
It recovered an 8 year old laptop battery which could power the laptop for 2 minutes, up to an hour. I was astounded as to how much it went up. Im currently doing it to my main laptop to see if works on that too.
The method is as follows:
1. Flatten the battery to its minimum that it will allow in the laptop (until it turns off is preferable)
2. Remove the battery.
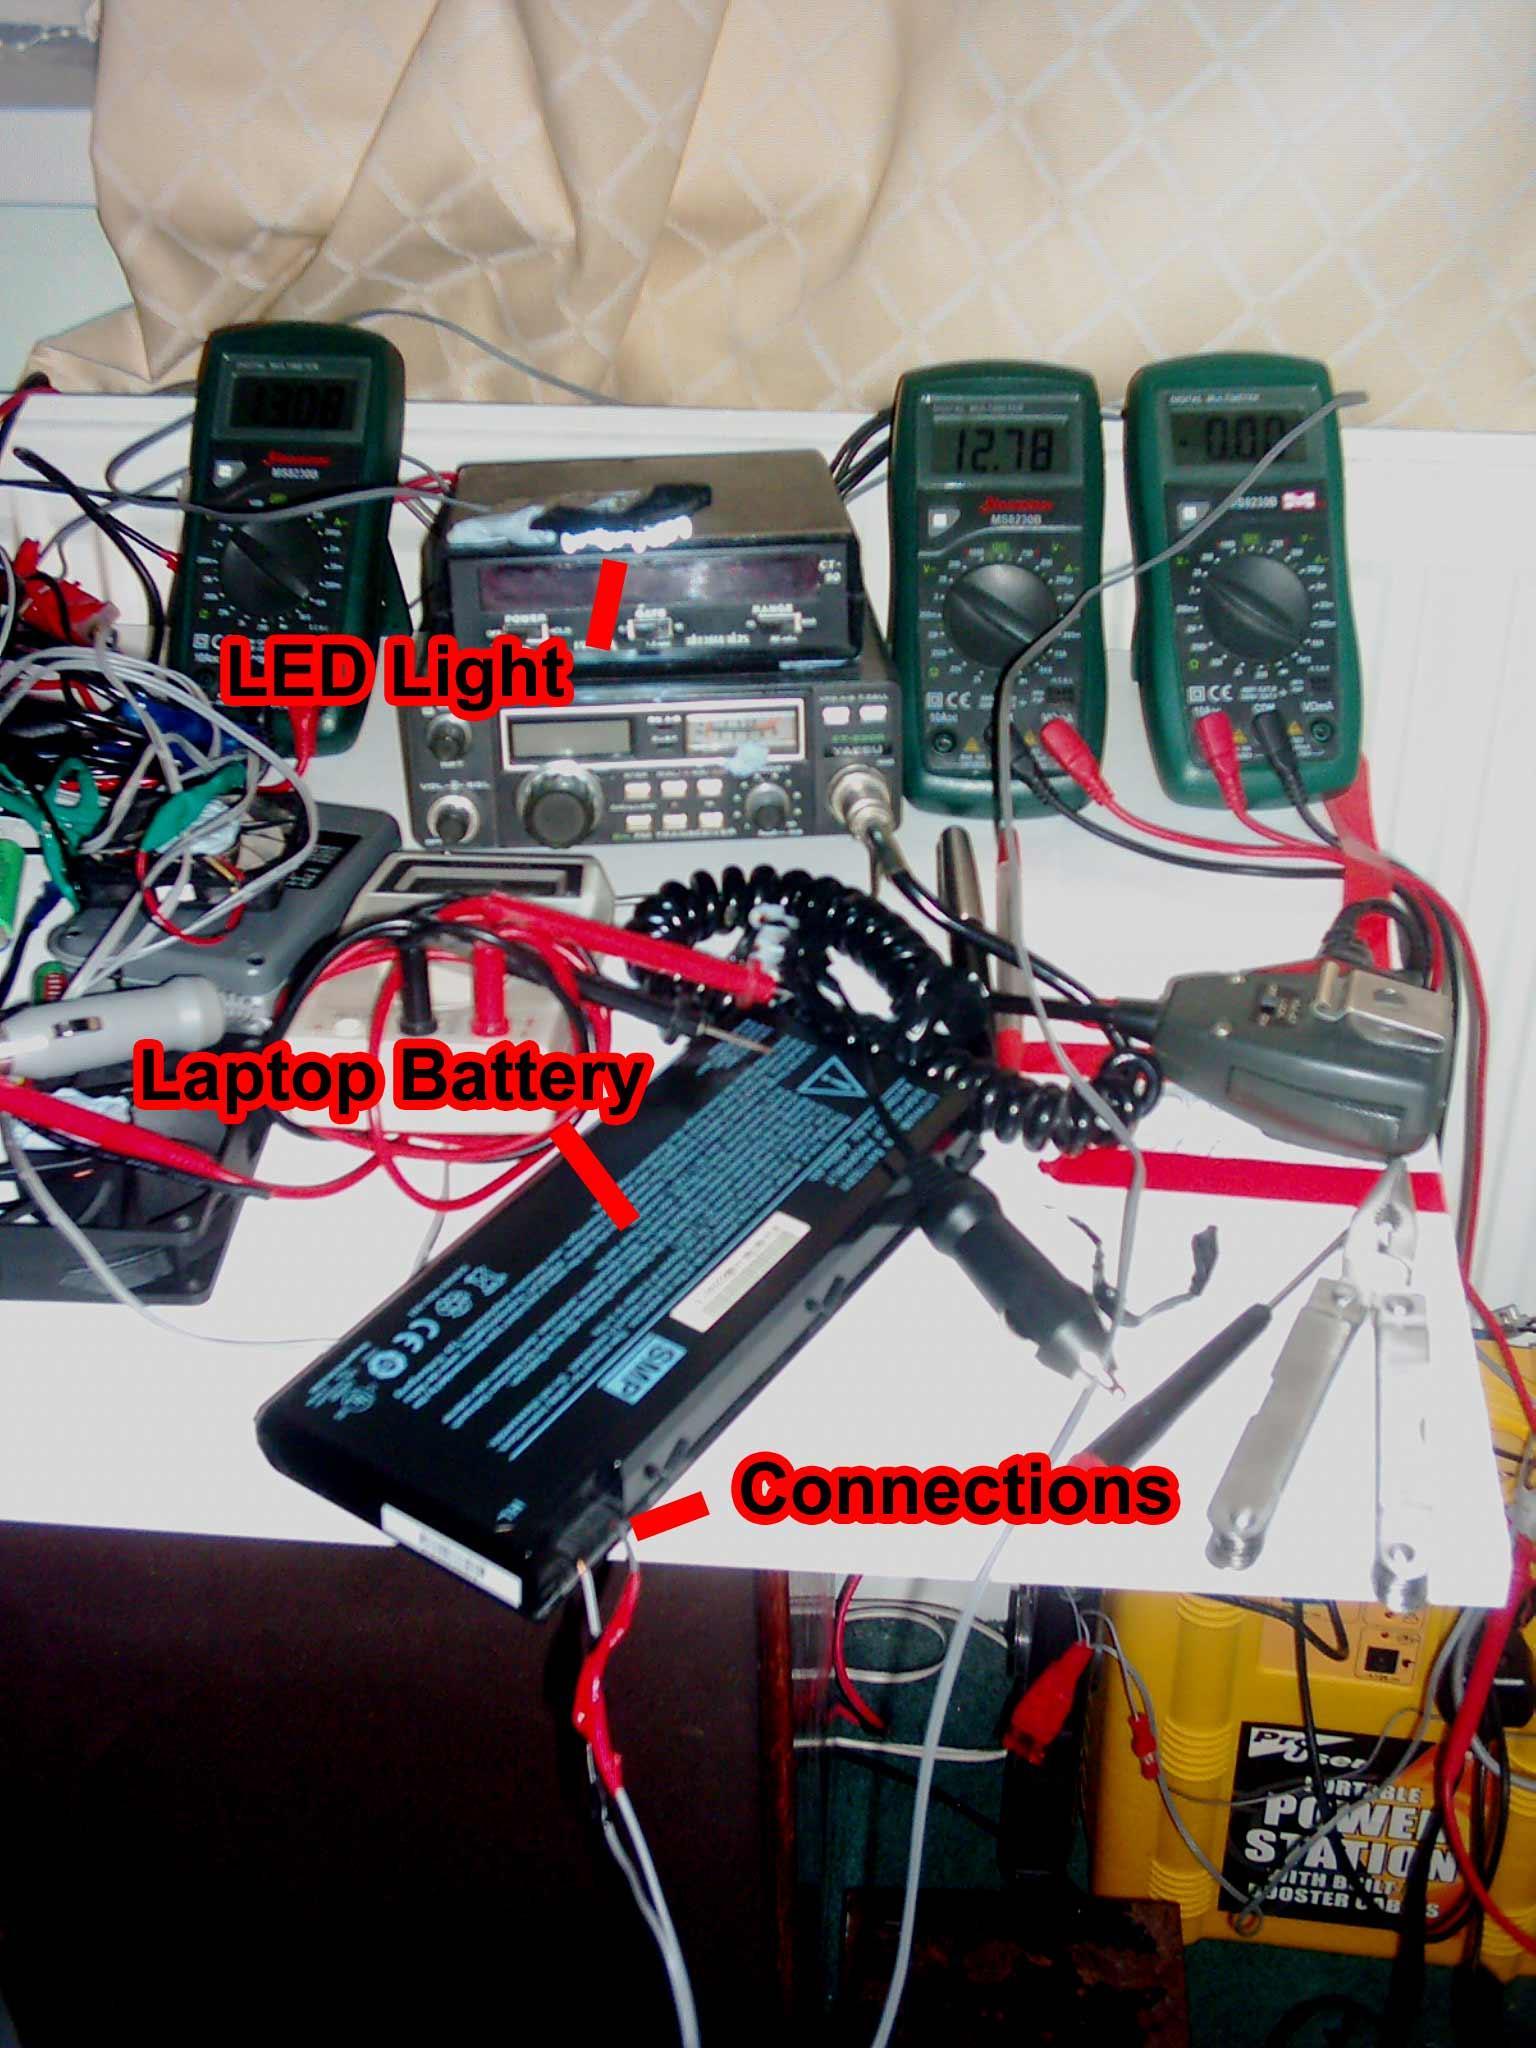
3. You will now need a "load" rated around 12-15v to connect directly to the battery. I have used a 12v LED light that I made myself. It draws around 60mA. The lower the current draw the better but the lower it is the longer it will take. 60mA is a bit low but is enough for me.
4. You will now need a multimeter to find out which two of the (usually 6) connections to connect the "load" to.
BE CAREFUL FROM NOW ON. YOU ARE DEALING WITH A LOT OF CURRENT WHICH COULD BE DANGEROUS.
Be sure your multimeter is on DC VOLTS and that the probes are in the correct sockets. It must NOT, I repeat NOT be in the AMPS socket. This will cause a short circuit!
If the connections are in the open, simply put the multimeter on two of the connections and look for a voltage reading. Two of them should give 14-16v (in most laptops its 1-2v more than the stated voltage on the back of the battery).
5. Once you find two connections that give a voltage, you need to figure out which is the positive and which is negative. If the meter reads without a "-" then the connection with the red probe on is the positive, the same for the black negative. If not, then they are the other way round. This is important because the load may not work if its the wrong way round, and it could damage it.
6. Now you know this information, you can connect up your load. Be careful not to let two wires touch that are connecting to the battery. This could cause a short circuit. It could hurt you and/or the battery. The battery could set on fire or explode if this is done.
7. Leave the load on the battery until it no longer works. This is when the batteries internal circuitry has detected that the battery is too low, and continuing drain will damage the lithium cells (does not apply to NI-CAD/NI-MH batteries, simply flatten them till the load doesnt work anymore). It could take more than 6-12 hours depending on the battery. I left mine running overnight, and it was off in the morning.
8. Remove the "load" and put the battery back into the laptop to charge. It should have a noticably increased run time after the recovery operation.
Troubleshooting: If you cannot get the load to work, try looking for two different connections that give a voltage. I came accross two that didnt give much current on the first laptop battery I recovered.
This method works for me. You MUST be careful when doing this because it can be danagerous if you don't know what you are doing. I recommend a basic knowledge in electronics before you do it.
I dont accept any responsibility for damages occuring because of using this tutorial of battery recovery. You follow it at your own risk.
NOTES: This tutorial should work for any kind of Li-Ion battery, including mobile phones etc.