m (Mibrab moved page Windows 98 1353 to Windows 98/4.10.1353 without leaving a redirect) |
No edit summary |
||
| Line 1: | Line 1: | ||
{{ | {{Infobox Buildinfo | ||
|image = Memphis 1353 BootScreen.PNG | |image = Memphis 1353 BootScreen.PNG | ||
|imagecaption = | |imagecaption = 4.10.1353 | ||
|kernel = 4.10, DOS 7.1 | |kernel = 4.10, DOS 7.1 | ||
|arch = x86 | |arch = x86 | ||
|sku = N/A | |sku = N/A | ||
|bios = 21 | |bios = December 21, 1996 | ||
| | |tcb_link = [https://thecollectionbook.info/builds/windows/build/3171 No key required] | ||
}} | }} | ||
This is a pre-beta build of Windows 98. This one is still labeled as Memphis and has many leftovers of Windows 95. | This is a pre-beta build of Windows 98. This one is still labeled as Memphis and has many leftovers of Windows 95. | ||
Revision as of 12:05, 24 May 2020
 |
|
| 4.10.1353 | |
| Kernel version | 4.10, DOS 7.1 |
|---|---|
| CPU architecture | x86 |
| Edition | N/A |
| BIOS date | December 21, 1996 |
This is a pre-beta build of Windows 98. This one is still labeled as Memphis and has many leftovers of Windows 95.
Installation
You need to set up a disk to use with Memphis. This build was known to not be bootable, so you'll need an external boot disk to partition and format the hard disk. You can use a Windows 95 boot disk, or a Windows 98(FE/SE) CD, but disable large disk compatibility in FDisk. In the next example I'll be using a Windows 98SE CD.
- Don't forget to set the BIOS date back.
- Boot from the Win98 CD until where it asks you to start setup or boot from the PC.
- Select to boot from the PC with CD-ROM compatibility.
- Go to the WIN98 directory.
- Open FDisk. When prompted to enable larger disk compatibility, type "N".
- Create one primary partition active.
- Reboot and repeat steps 1, 2 & 3.
- Type "format /q" (Without quotes) (When prompted about an unconditional format, type Y)
- After formatting and without rebooting, insert the Memphis 1353 CD.
- Go to the MEMPHIS directory.
- It's recommended that you run setup with the following parameters: /im /is /id
After that the installation is pretty straightforward.
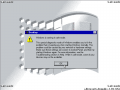
- Accept the license agreement
- Click Next several times until you are presented with the "Setup type" screen.
- Select the components you want to install.
- You'll be asked for a blank floppy for a recovery disk, but it's optional. If you don't want to create it, just click Cancel when it asks you.
- Wait until the installation copies all files.
- Reboot when the installation finishes.
After this point it's almost like any other Windows 95 installation.
Gallery

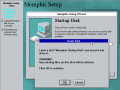
Boot screen.

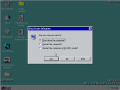
Shutdown screen.
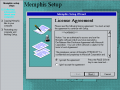
License Agreement.
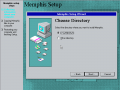
Choosing where to install Memphis.
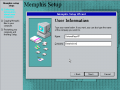
User Information screen.
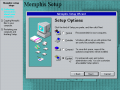
Setup Type screen.
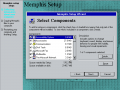
Component Selection screen.
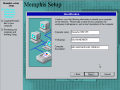
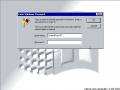
Network Identification screen.
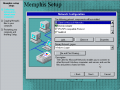
Network Configuration screen.
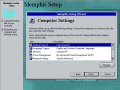
Computer Settings screen.
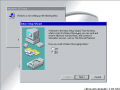
Setup creating a recovery diskette.
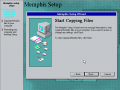
Setup ready to start copying files.
Setup preparing to copy files.
Setup ready to restart.
Login screen.
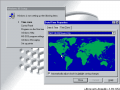
Timezone setup screen.

Start Menu Items setup screen.
Windows Messaging Inbox setup screen.

Printer setup screen.
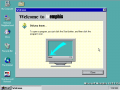
First boot to the desktop.
Shutdown dialog.
Safe Mode.


