This is how to install a linux OS (shouldnt matter which) to a USB (must be FAT32 format). If you are unfamiliar with Live vs Persistent, live cds/usbs are loaded into RAM, and any changes you make disappear. Persistent on the other hand, are loaded from the flashdrive, as if it were a HDD, and any changes that occur get saved. I am going to be using Crunchbang, my favorite persistent USB OS just because of its light-weightness, and ability to run on almost any hardware.
Download: http://crunchbanglinux.org/downloads/st ... so.torrent
Crunchbang can install on a 2 gb flashdrive, but 4 gb or 8 gb is recommended if you want to install things.
Also, please note that there will be a lot of steps/screenshots, etc. I am going to go from step A-Z for anybody that might be new to installing OS's, or to avoid ANY confusion. I always prefer to do things thoroughly. If you aren't extremely new to this, just skip to step 10.
Note: 1 and 20 got washed out for some reason, just click on them and the full picture is normal.
Step 1:
Boot up from your live CD/USB(google how to change your boot up priority if you are unsure what that means) or start your VM. and select "graphical installer".

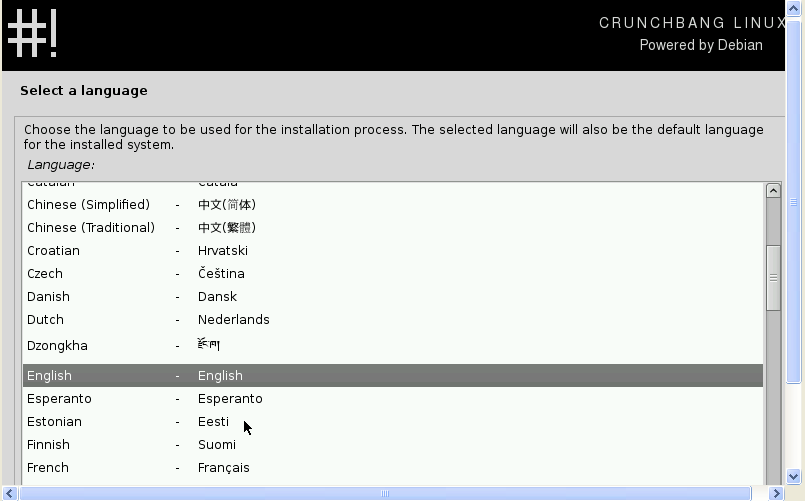
Step 2:
Select your language.
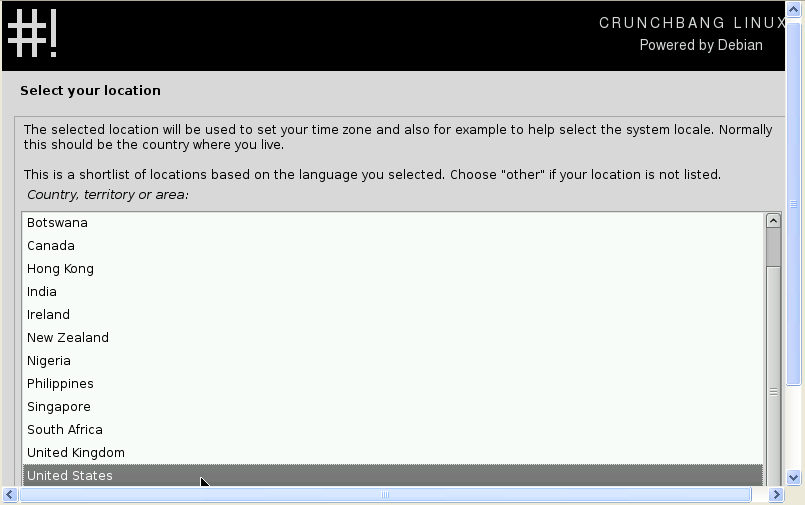
Step 3:
Select your location.
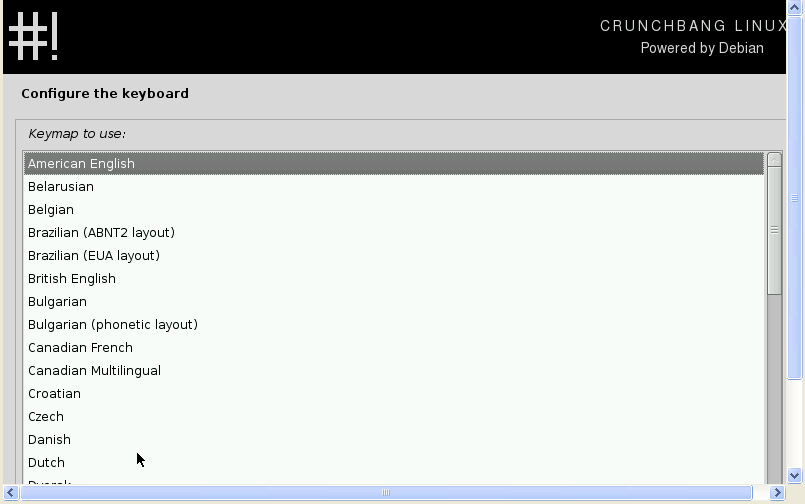
Step 4:
Select your keyboard layout.
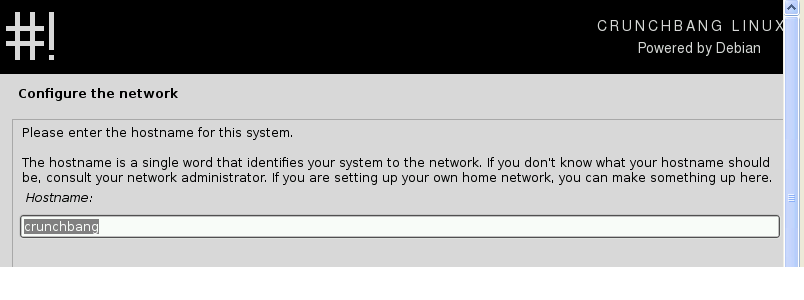
Step 5:
Select your hostname. Default will be fine for 99.9% of people.
Step 6:
Select your username.

Step 7:
Input your name. This is what will be used for email programs, etc.

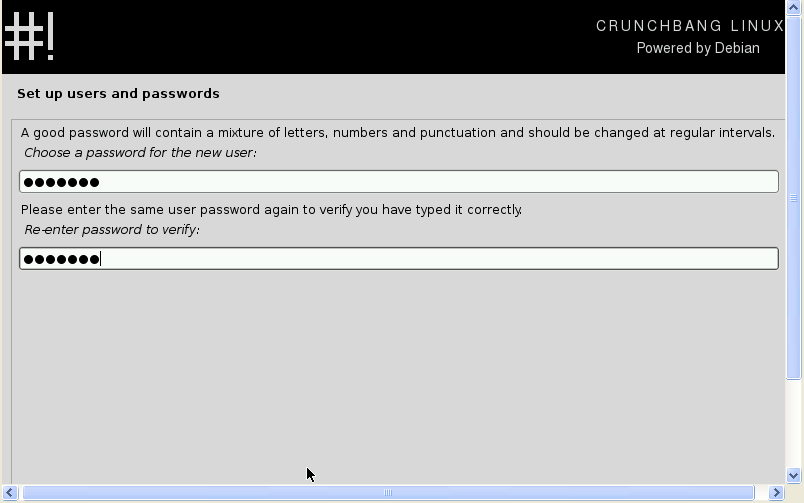
Step 8:
Select your password. Please keep in mind, this will be used as your password for sudo for you to complete administrative tasks. (You will have to enter it a lot.)
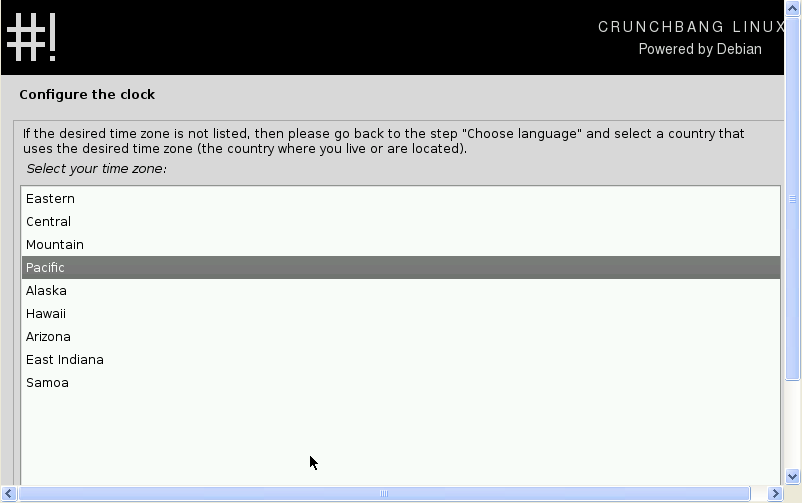
Step 9:
Select your timezone.
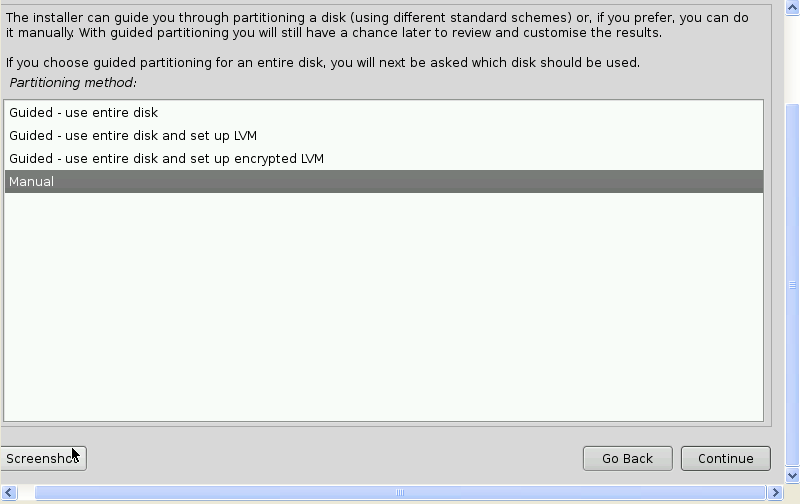
Step 10 (where things get more difficult):
Now we are ready to partition our flashdrive. You will want to select the manual option here.
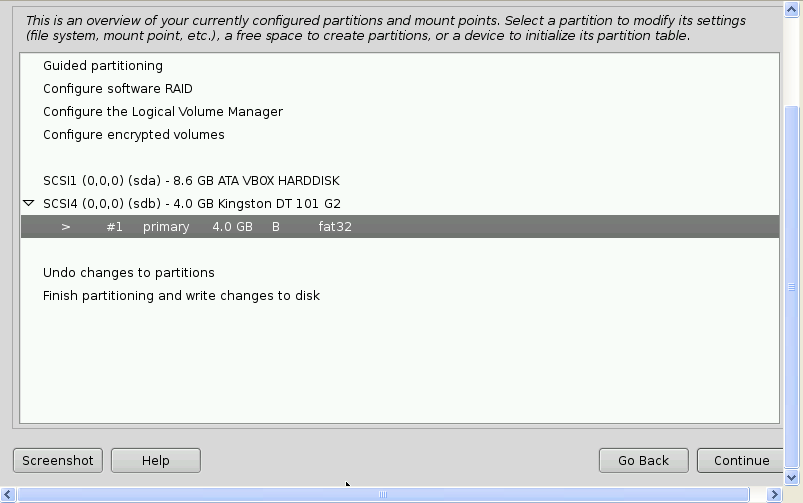
Step 11:
Find your flashdrive and highlight it.
IT IS SUPER IMPORTANT TO REMEMBER THE LETTERS IN THE PARENTHESIS AND WHAT NUMBER UNDER THOSE LETTERS YOUR FLASH DRIVE IS. IN THIS, AND MOST CASES IT WILL BE
sdb1
Hit continue.
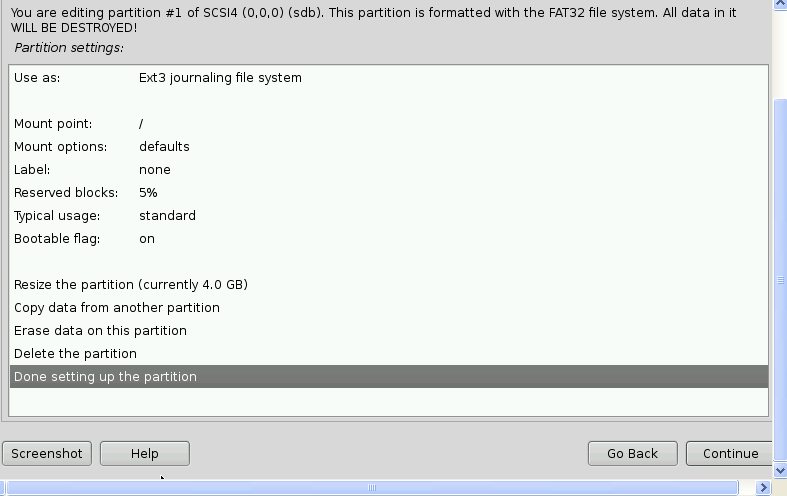
Step 12:
Now change the "Use as:" to Ext3 or Ext4, make the mount point / (root), and make sure bootable flag is on. Then select done setting up the partition.
Step 13:
Select finish partitioning and write changes to disc (last chance to double check you have your flash drive being modified and not anything else).

Step 14:
A warning will come up telling you you forgot to make a swap partition. Just choose no. A swap partition would only take up valuable space, and compromise the life of your flashdrive.

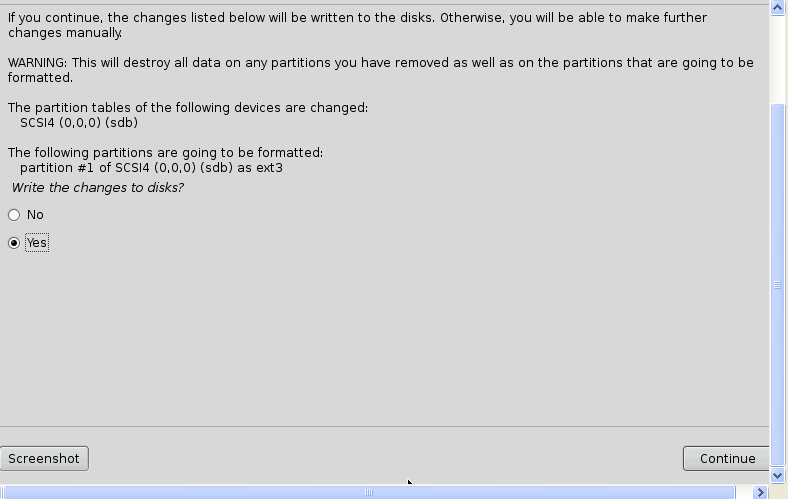
Step 15:
Select yes to finalize your partitioning decision.
Step 16:
It will then partition and start installing the system. (Time for a snack

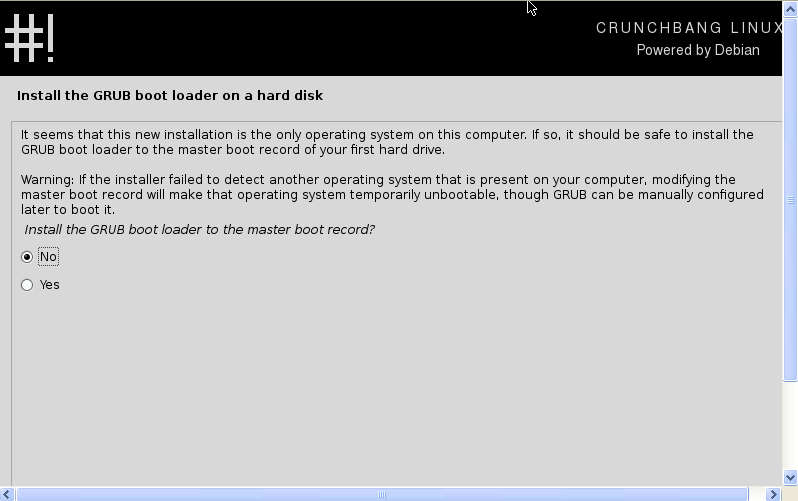
Step 17:
Select NO to installing Grub to the MBR of your computer.
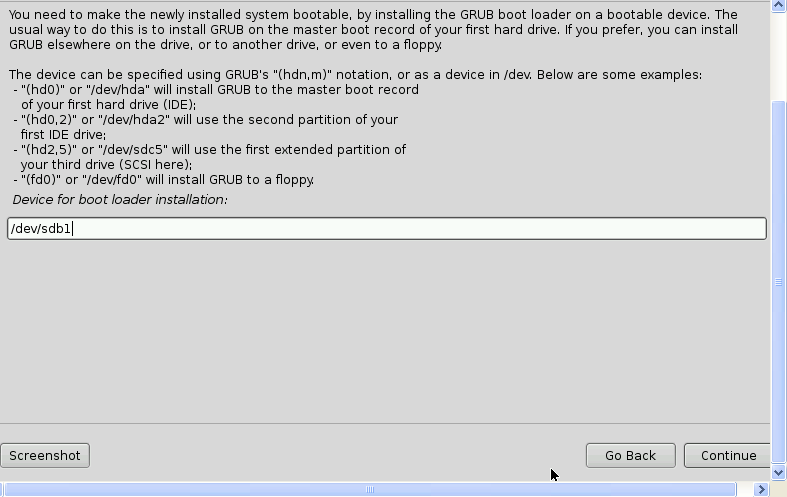
Step 18:
Now you need to give Grub the location of your flashdrive so it may install. It is: /dev/sdb1 (replace sdb1 with whatever your flashdrives location is)
Step 19:
Remove/unmount the live cd/usb. Restart the computer and set your boot priority to usb from your BIOS.

Step 20:
Enjoy your persistent Linux OS on your flash drive
Uses:
Data recovery.
Testing hardware.
Malware removal.
Bragging rights
Just something handy to have in many situations really. Hope this helps someone, or I stayed up all night in vain X_X